
The Abbey Yung Method is a science-backed approach to hair care that considers your unique hair type, scalp condition, and porosity to create a personalized routine. Unlike generic routines, this 11-step method adapts to your specific needs—whether you're dealing with damaged hair, color-treated hair, or simply want healthier locks.
This guide walks you through every step with detailed instructions and product recommendations for every budget. Once you understand the method, use our Abbey Yung Routine Builder to get personalized product recommendations for your specific hair type.
What You'll Learn:
- — All 11 steps explained in detail
- — How to layer products for maximum effectiveness
- — Which steps are essential vs. optional for your hair type
- — Budget-friendly and luxury product recommendations
- — Professional application techniques
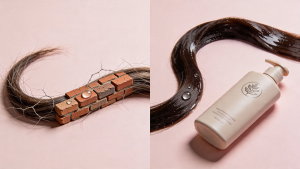
Pre-Shampoo Bond Repair Treatment
Optional — Use 1-2x per week for damaged hair
Bond repair treatments like Olaplex, K18, and Epres work at the molecular level to rebuild broken disulfide bonds in your hair shaft. These bonds break due to chemical treatments (bleaching, coloring, perming), heat styling, and environmental damage.
This step is crucial for anyone with damaged, bleached, or chemically-treated hair. If your hair feels weak, breaks easily, or has lost elasticity, bond repair treatments can make a dramatic difference by repairing the internal structure of your hair.
How to Use:
- • Apply to dry or damp hair before washing
- • Wait 4-10 minutes depending on product
- • Use 1-2 times per week for maintenance
- • Shampoo as normal—no need to rinse first
Budget tip: Drugstore options like Garnier Fructis Hair Filler use similar technology at a fraction of the price.
Recommended Products:

Epres
~$28
Garnier Fructis
~$8
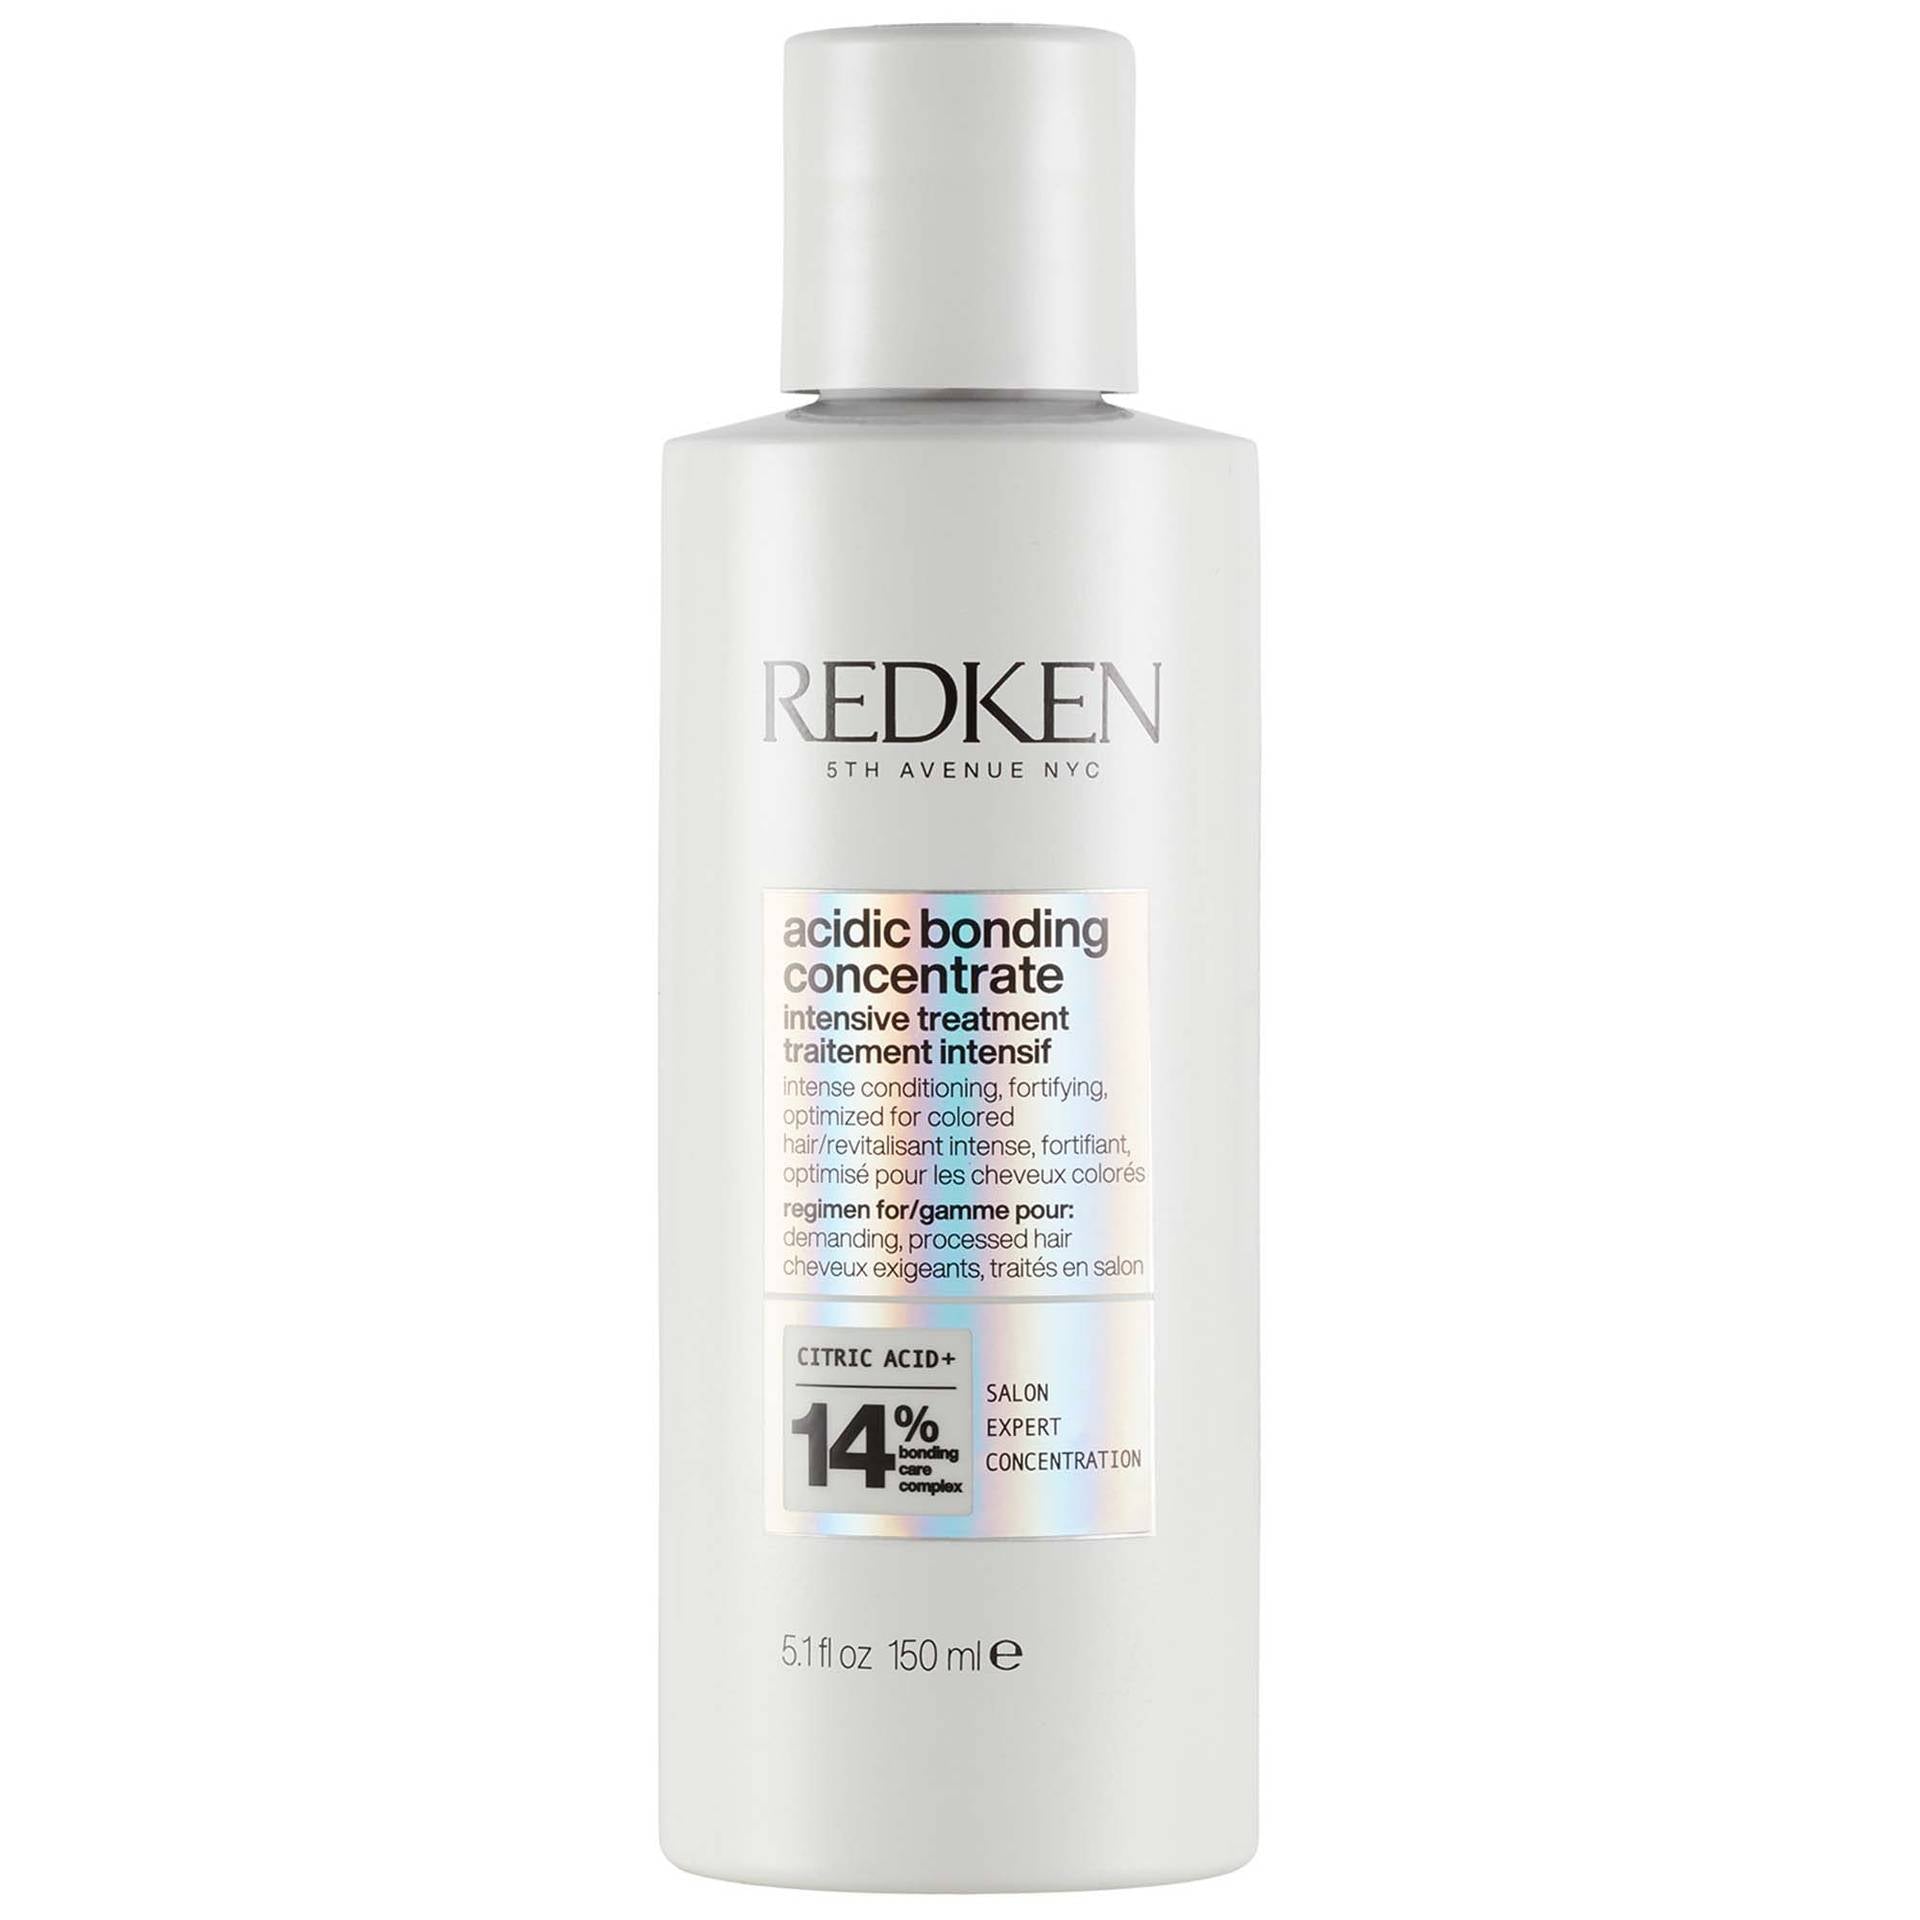
Redken Acidic
~$32
Pre-Shampoo Oil Treatment
Recommended 1-2x per week for dry or damaged hair
The pre-shampoo oil treatment (or "pre-poo") protects your hair from the drying effects of shampooing. This technique is especially beneficial for dry hair, high porosity hair, and curly/coily hair types.
Coconut oil is scientifically proven to be the most effective oil for this step. Research shows it's the only oil that actually penetrates the hair shaft, reducing protein loss by up to 30% during washing.
How to Use:
- • Apply coconut oil to dry hair 15-30 minutes before showering
- • Focus on mid-lengths to ends (avoid oily scalps)
- • For deeper penetration, cover with a shower cap and apply heat
- • You may need to shampoo twice to remove all oil
Best For:
High porosity hair, bleached or color-treated hair, curly/coily hair (Type 3-4), very dry or damaged hair.
Use With Caution:
Low porosity hair (may feel heavy), very fine hair (can weigh down).
Recommended Products:
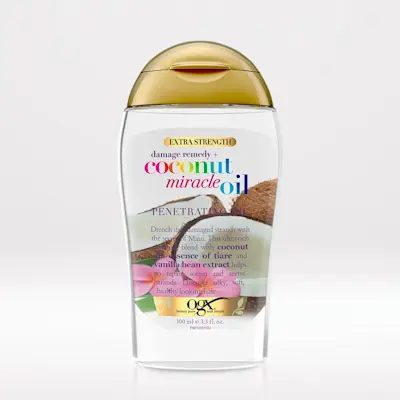
OGX Extra Strength
~$9

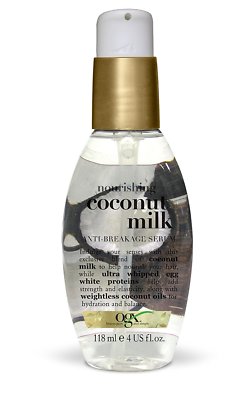
OGX Coconut Milk
~$8
OGX Nourishing
~$10
Clarifying Shampoo
Weekly deep cleanse to remove buildup
Clarifying shampoo is your hair's reset button. It removes product buildup, hard water minerals, chlorine, and pollutants that regular shampoo can't eliminate. Even with "clean" products, buildup accumulates and makes hair look dull and heavy.
Signs you need clarifying shampoo: Hair feels heavy after washing, products don't work as well, dull appearance, itchy scalp, you live in a hard water area, or use lots of styling products.
How to Use:
- • Use once per week (every 2 weeks for dry/color-treated hair)
- • Focus on scalp and roots—massage for 1-2 minutes
- • Let sit for 2-3 minutes before rinsing
- • Always follow with conditioner—clarifying can be drying
Choose by Hair Type:
- • Color-treated: Sulfate-free formulas (L'Oréal EverPure)
- • Hard water: Chelating shampoos (L'Oréal Metal Detox)
- • Swimmers: Chlorine-removing formulas (Ouai Detox)
Warning: Don't use daily—once a week is enough. Over-clarifying can dry out hair and scalp.
Recommended Products:
L'Oréal EverPure
~$9

Garnier PureClean
~$6

K18 Prep Detox
~$42
Dove Scalp Therapy
~$8
Regular Shampoo
Essential — Use every wash day (2-4x per week)
Your regular shampoo is the foundation of your routine. The key is matching it to your scalp type, not your hair type. Shampoo cleanses your scalp—conditioner cares for your hair.
Choose by Scalp Type:
- Oily scalp: Balancing or purifying shampoos with tea tree, salicylic acid, or charcoal. Wash every 1-2 days.
- Normal scalp: Gentle, sulfate-free formulas. Wash every 2-3 days.
- Dry scalp: Moisturizing, cream-based shampoos. Avoid sulfates. Wash every 3-5 days.
Technique Tips:
- • Focus on your scalp, not hair lengths
- • Massage with fingertips (not nails)
- • Rinse thoroughly—leftover shampoo causes buildup
- • If very oily, double cleanse
Note: If hair feels stripped after washing, your shampoo may be too harsh. Switch to a gentler formula.
Recommended Products:

Garnier Fructis Strength
~$7

Tough Love Bonding
~$10
L'Oréal EverPure
~$9
Redken Acidic
~$35
Scalp Treatment
Optional — For specific scalp concerns
Scalp treatments address specific issues like dandruff, itchiness, excess oil, dryness, or thinning. Think of them as skincare for your scalp—a healthy scalp produces healthy hair.
Types of Treatments:
- Anti-dandruff: Zinc pyrithione, ketoconazole, selenium sulfide
- Soothing: Aloe vera, tea tree oil, menthol
- Hair growth: Minoxidil, caffeine, rosemary oil, peptides
- Exfoliating: Salicylic acid, glycolic acid
How to Apply:
- • Apply after shampooing to clean scalp
- • Part hair and apply directly to scalp
- • Massage for 1-2 minutes
- • Leave on 5-10 minutes, then rinse
Recommended Products:
Garnier Hair Filler
~$8
K18 Molecular Mask
~$75
Redken Acidic Leave-In
~$32
Conditioning
Essential — Every wash includes at least one type
Conditioning replenishes moisture, smooths the cuticle, aids detangling, and protects against damage. The Abbey Yung Method breaks this into three sub-steps:
6A: Glosses (For Instant Shine)
Hair glosses provide instant shine and smoothness with lightweight conditioning. Perfect for fine hair.
L'Oréal Wonder Water
~$10

L'Oréal Lamination
~$12
Amika Flash Shine
~$32

L'Oréal Glycolic Gloss
~$15
6B: Rinse-Out Conditioner (Every Wash)
Your everyday conditioner. Apply from mid-lengths to ends only—never on scalp. Leave 1-3 minutes, then rinse.
Garnier Fructis
~$7

Tough Love
~$10
L'Oréal EverPure
~$9
Redken Acidic
~$35
6C: Hair Masks (Weekly)
More intensive than regular conditioner. Leave on 10-30 minutes. Essential for damaged, dry, or high porosity hair.

Elizavecca Protein
~$12

Pantene Miracle
~$8

OGX Bond Mask
~$9

Amika The Kure
~$38
For low porosity hair: Use lightweight, water-based leave-ins. Spray formulas work better than creams.
For high porosity hair: Use creamy, rich leave-ins with oils and butters. Try the LOC/LCO method.
Post-Wash Bond Repair
Optional — 1-2x per week
Post-wash bond repair treatments are applied to clean, damp hair after shampooing and conditioning. Unlike pre-shampoo treatments, these work on freshly cleansed hair when the cuticle is still slightly open, allowing deeper penetration.
This step is optional if you're already using bond repair in Step 1 or Step 5. However, if your hair is severely damaged from bleaching, frequent heat styling, or chemical treatments, layering bond repair at multiple stages can accelerate recovery.
When to Use This Step:
- • Severely damaged or bleached hair needing intensive repair
- • After chemical treatments (perms, relaxers, keratin)
- • When transitioning from damaged to healthy hair
- • Color-treated hair that feels weak or brittle
How to Apply:
- • Apply to damp, towel-dried hair after conditioning
- • Wait 10 minutes before applying any other product
- • Do not rinse out—leave in and style as usual
- • Use 1-2 times per week for maintenance
Recommended Products:

Living Proof Triple Bond
~$45
Leave-in Conditioner & Heat Protection
Essential — Every wash day
Leave-in conditioners provide ongoing moisture, detangling, and protection that lasts until your next wash. Unlike rinse-out conditioners, they continue working throughout the day, keeping hair soft, manageable, and protected from environmental stressors.
Heat protectants are non-negotiable if you use any heat styling tools—blow dryers, flat irons, curling wands. Heat damage is cumulative and irreversible. A good heat protectant creates a barrier that reduces moisture loss and prevents protein degradation at high temperatures.
Why This Step Matters:
- • Protects hair from heat damage up to 450°F (230°C)
- • Reduces frizz and flyaways throughout the day
- • Adds slip for easier detangling and styling
- • Provides UV protection from sun damage
- • Seals the cuticle for smoother, shinier hair
How to Apply:
- • Apply to damp, towel-dried hair after washing
- • Focus on mid-lengths to ends—avoid roots to prevent greasiness
- • Use a wide-tooth comb to distribute evenly
- • Apply heat protectant before ANY heat styling, even blow drying
- • Multi-benefit sprays can serve as both leave-in and heat protectant
Pro tip: Look for products that combine multiple benefits—leave-in conditioning, heat protection, UV protection, and frizz control—to simplify your routine without sacrificing results.
Recommended Products:
Pantene 10-in-1
~$8
TRESemmé Heat Tamer
~$6

Redken One United
~$28
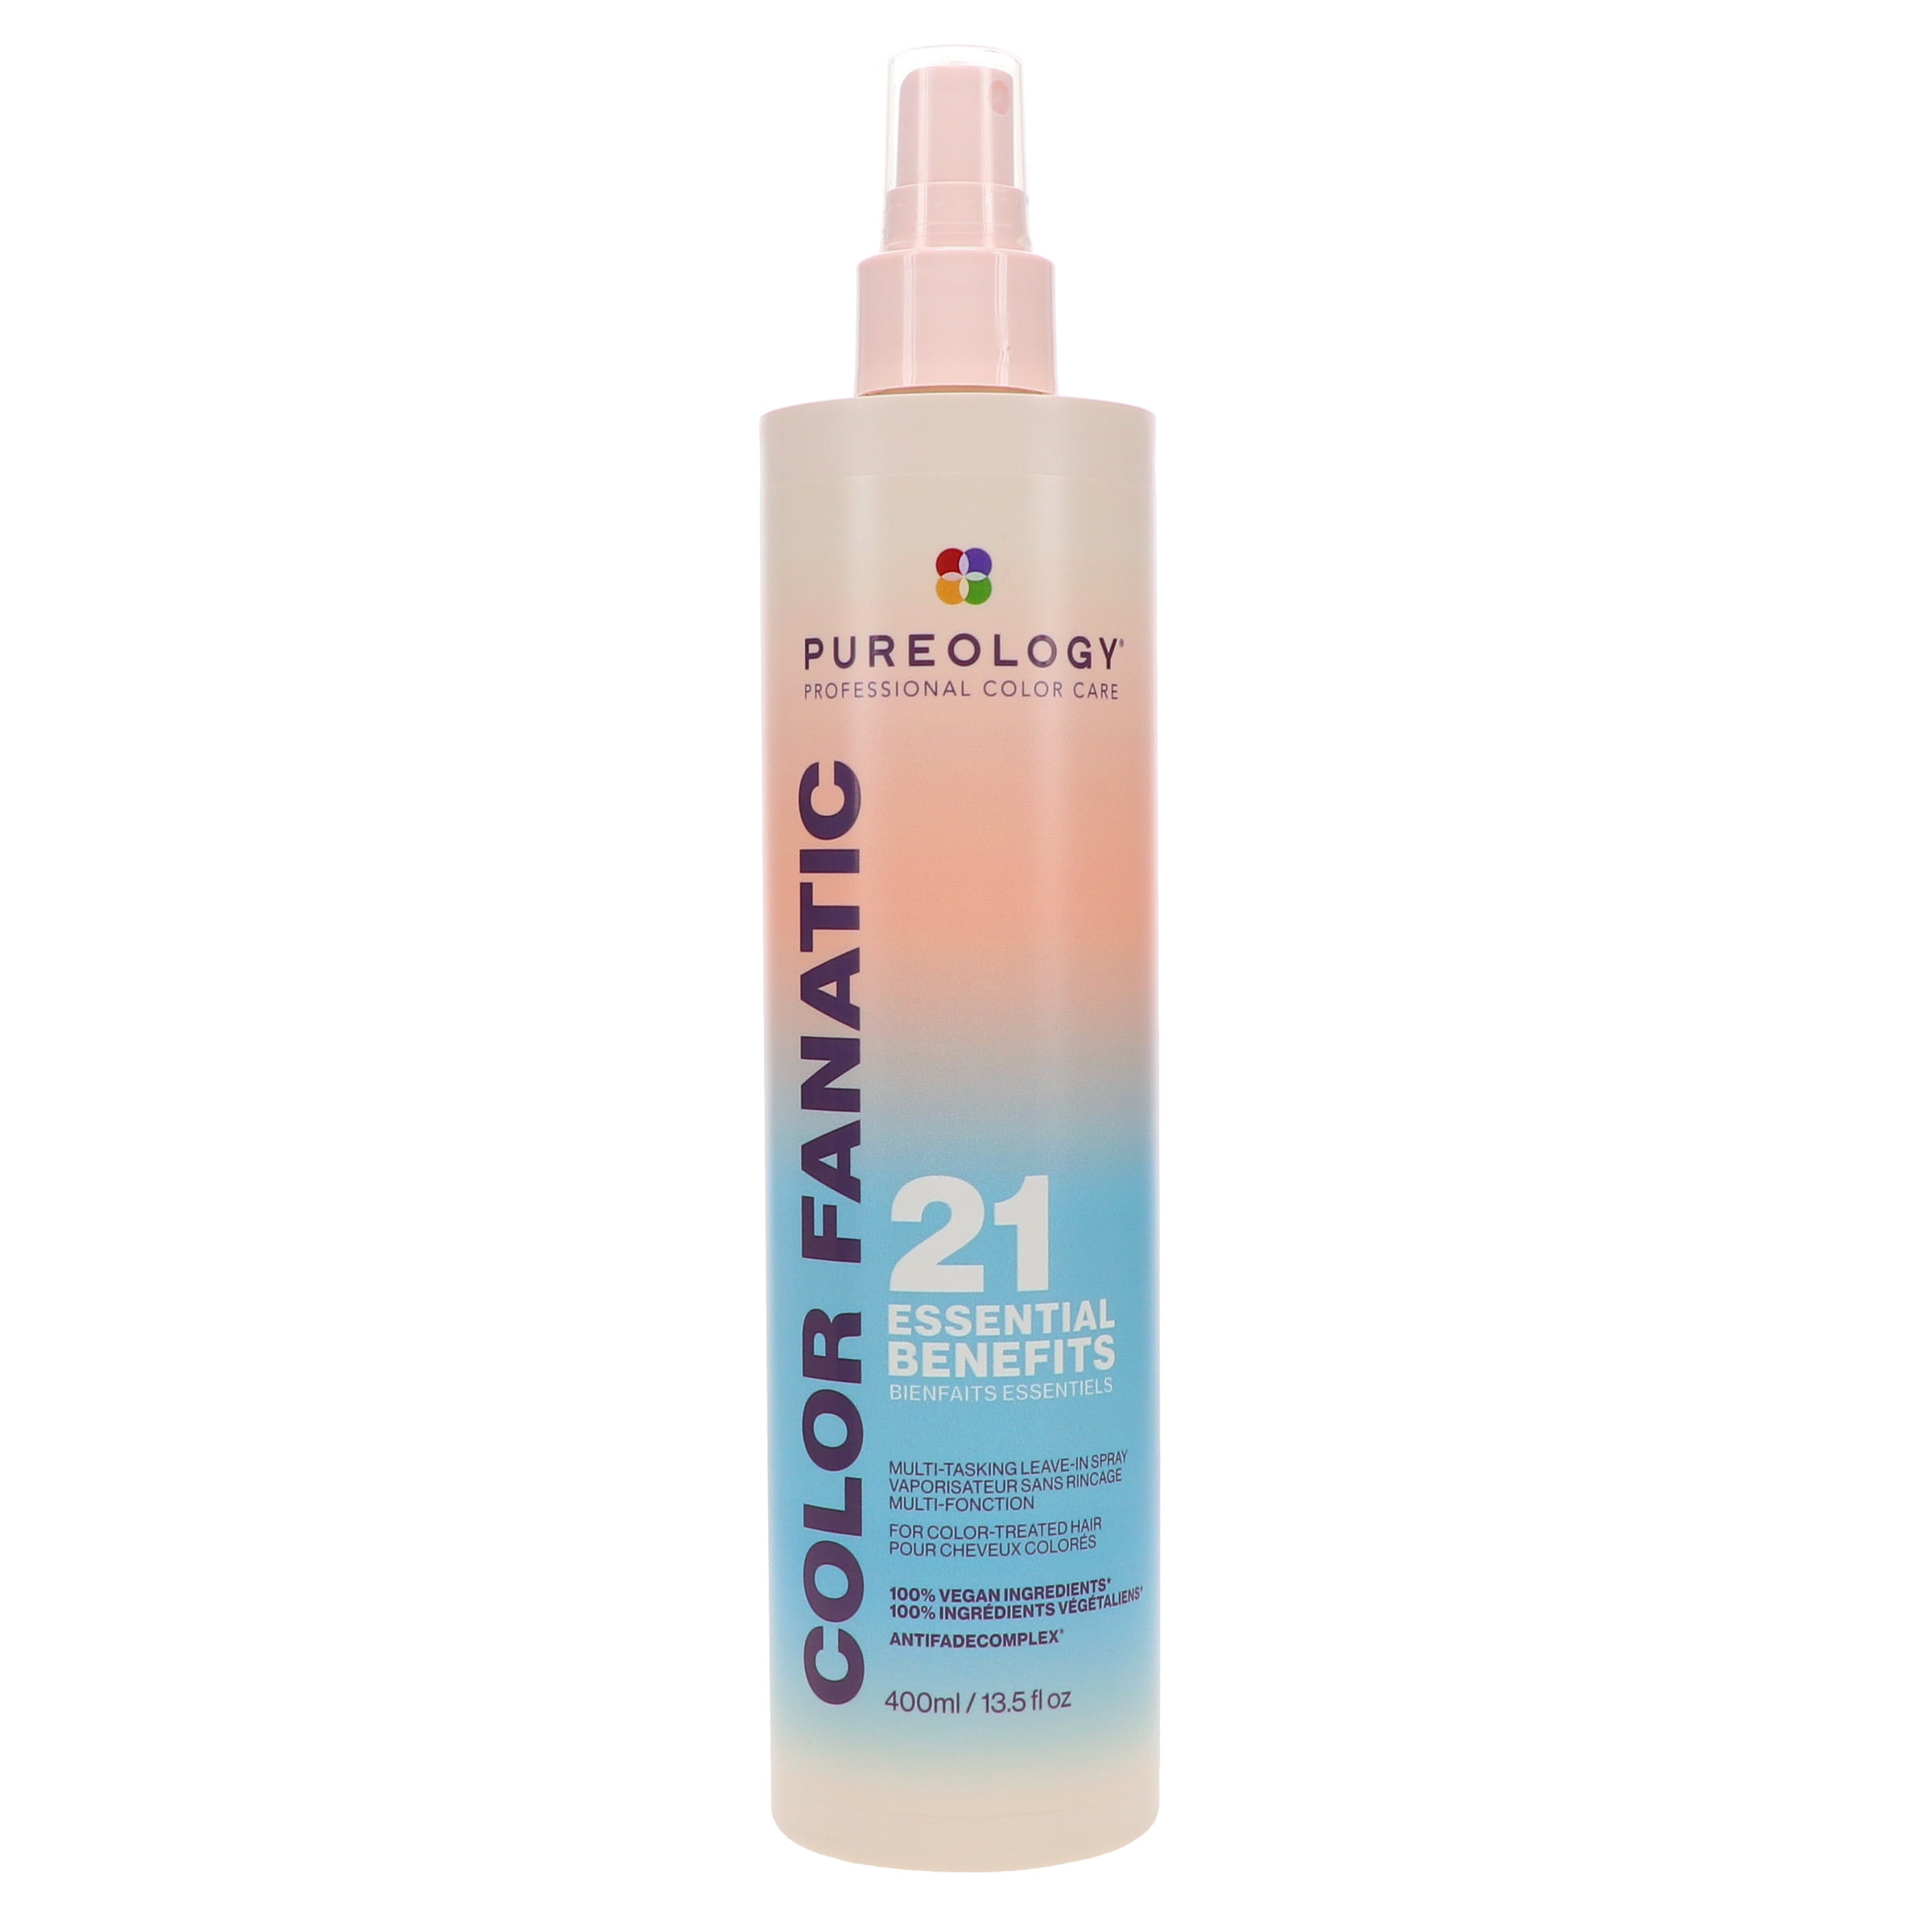
Pureology Color Fanatic
~$35
Styling Products
Optional — Based on personal preference
Styling products help you achieve your desired look—whether that's bouncy volume, sleek smoothness, defined curls, or effortless texture. This step is entirely optional and based on your personal styling preferences.
The key is choosing products that match both your hair type and your styling goals. Fine hair benefits from lightweight mousses and volumizing sprays, while thick or curly hair may need richer creams and stronger-hold gels.
Types of Styling Products:
- Mousses: Lightweight foam for volume and body. Best for fine to medium hair. Apply to damp hair and blow dry.
- Gels: Provide hold and definition. Great for curly hair, slicked-back styles, or edge control. Can range from flexible to strong hold.
- Creams: Add moisture, smoothness, and frizz control. Ideal for thick, dry, or curly hair. Apply to damp or dry hair.
- Texture Sprays: Create that "lived-in" or beachy look. Add grip and movement. Best for second-day hair or loose waves.
- Pomades & Waxes: For sculpting and defining. Great for short styles, slicked looks, or piece-y texture.
Styling Tips:
- • Start with less product—you can always add more
- • Warm products between palms before applying
- • Apply styling products before heat styling for best results
- • Layer products from lightest to heaviest consistency
Recommended Products:
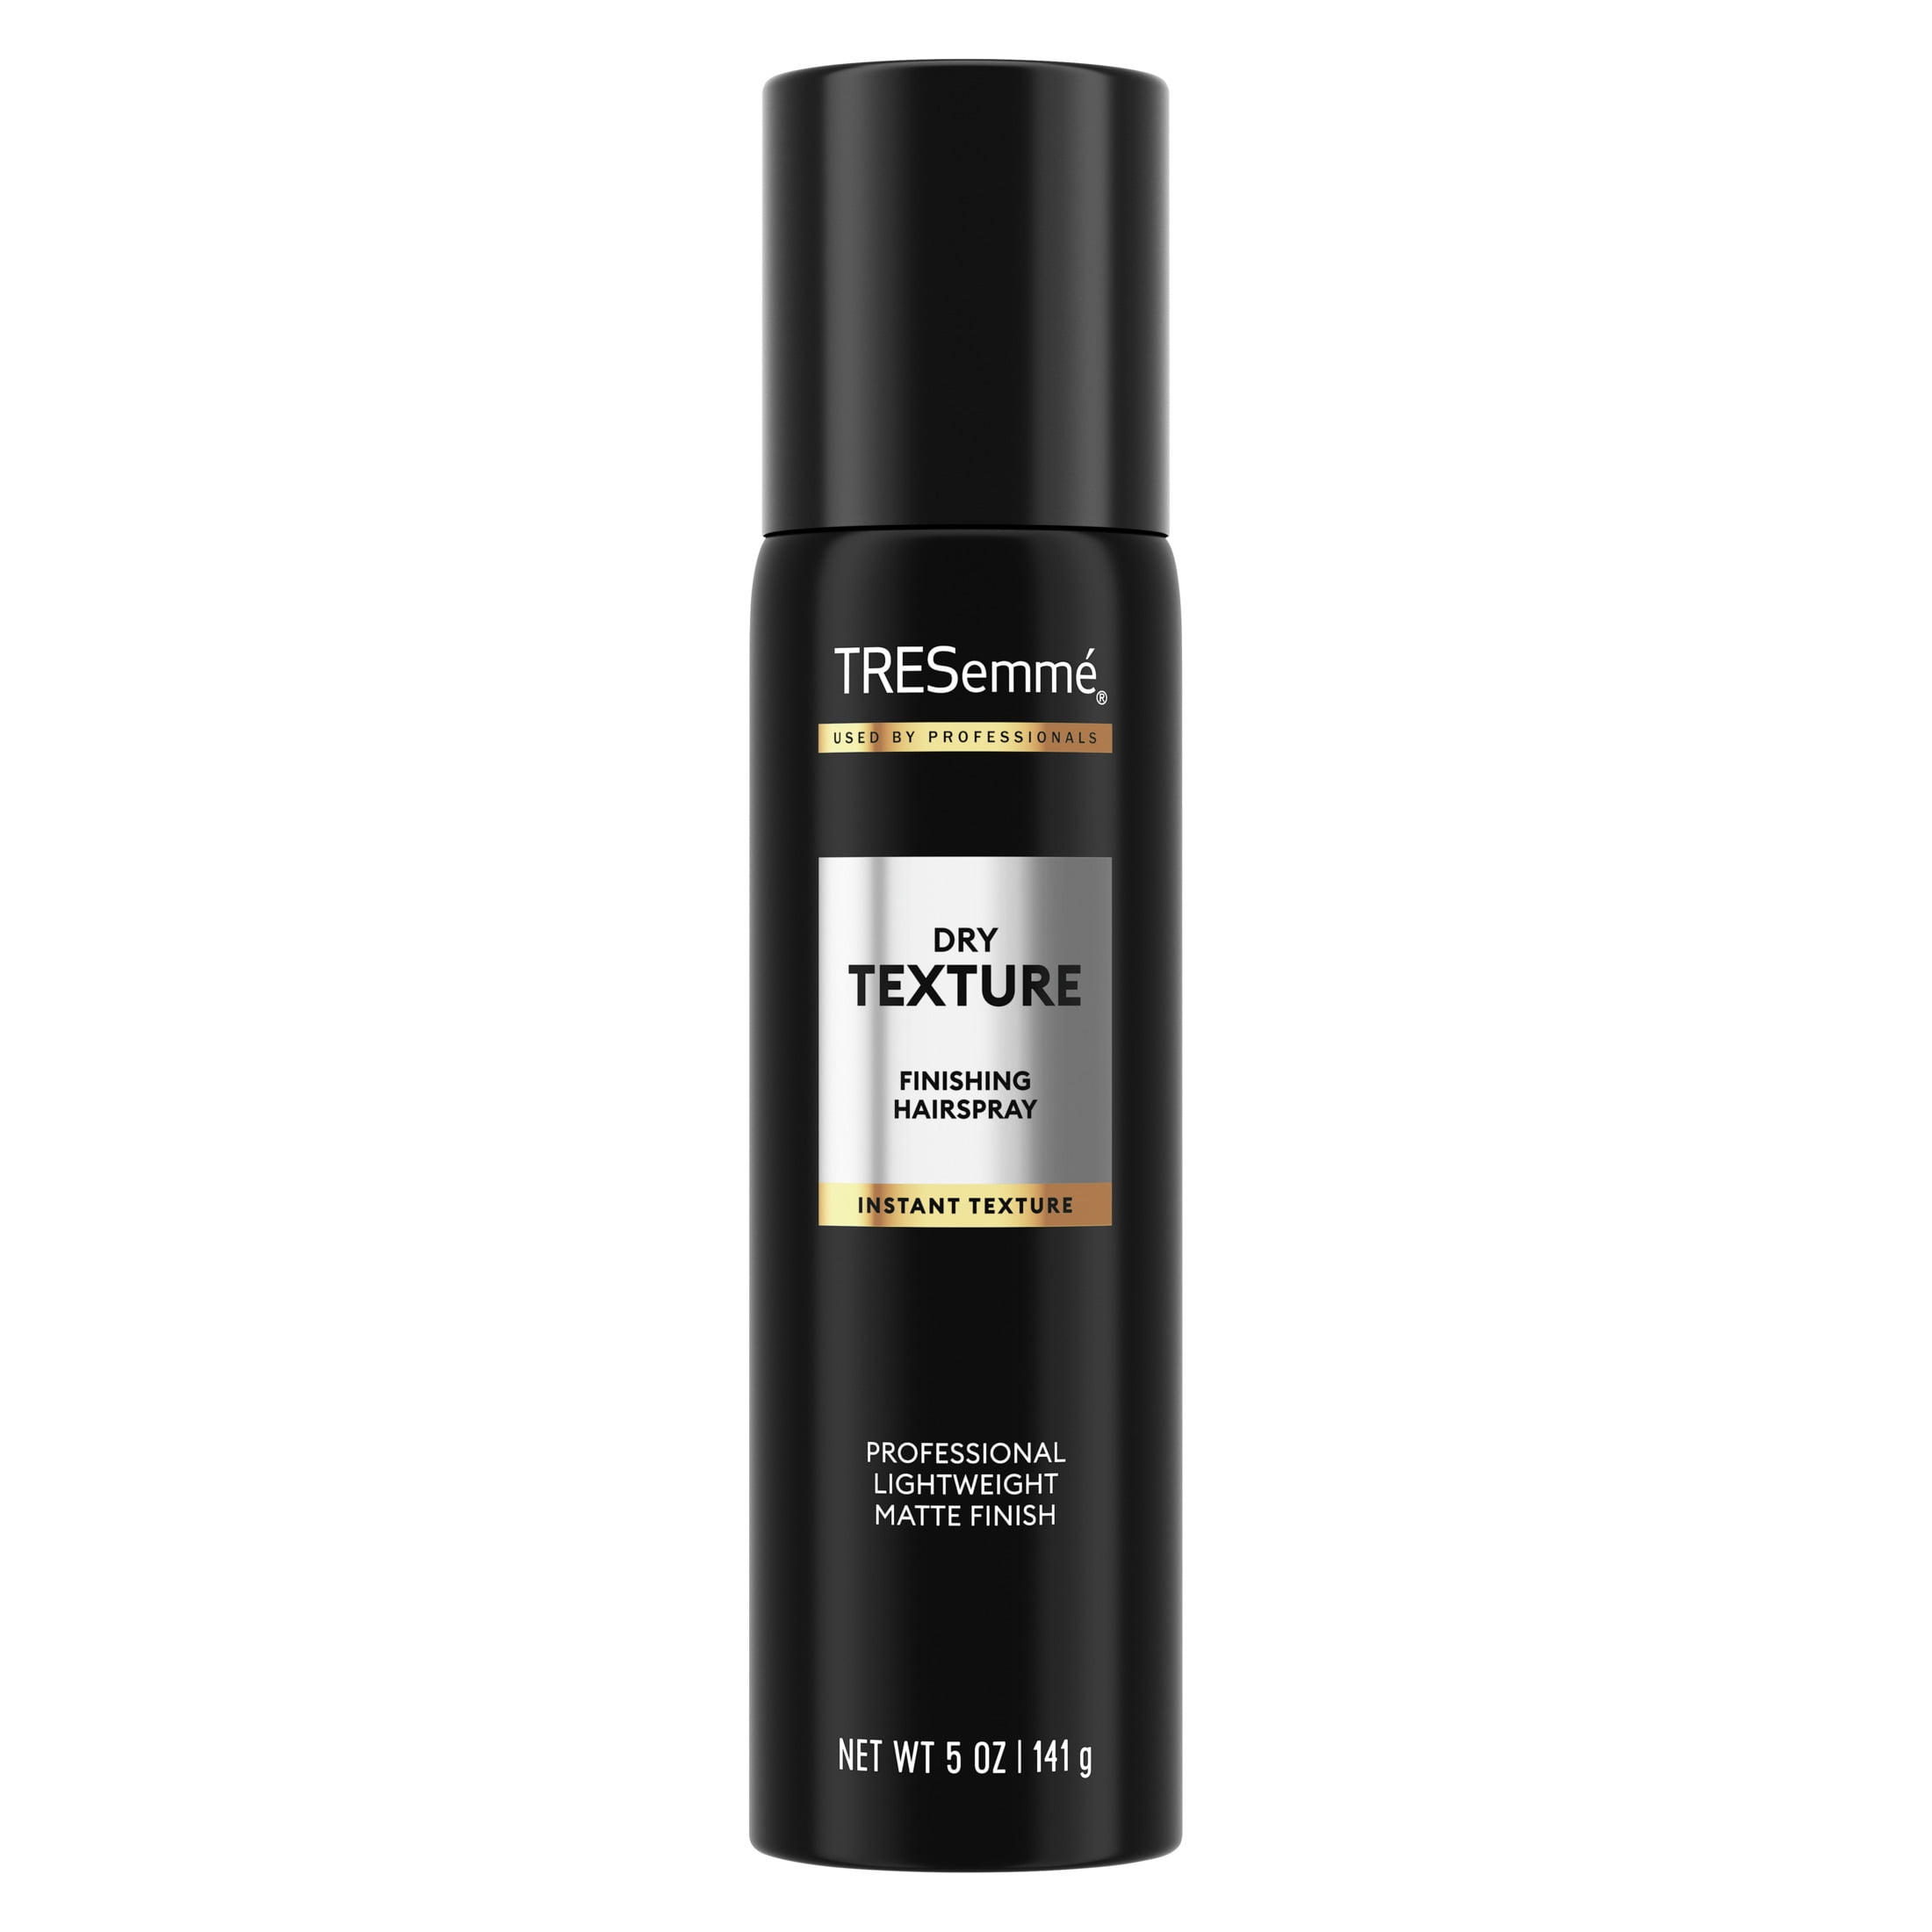
TRESemmé Texture Spray
~$6
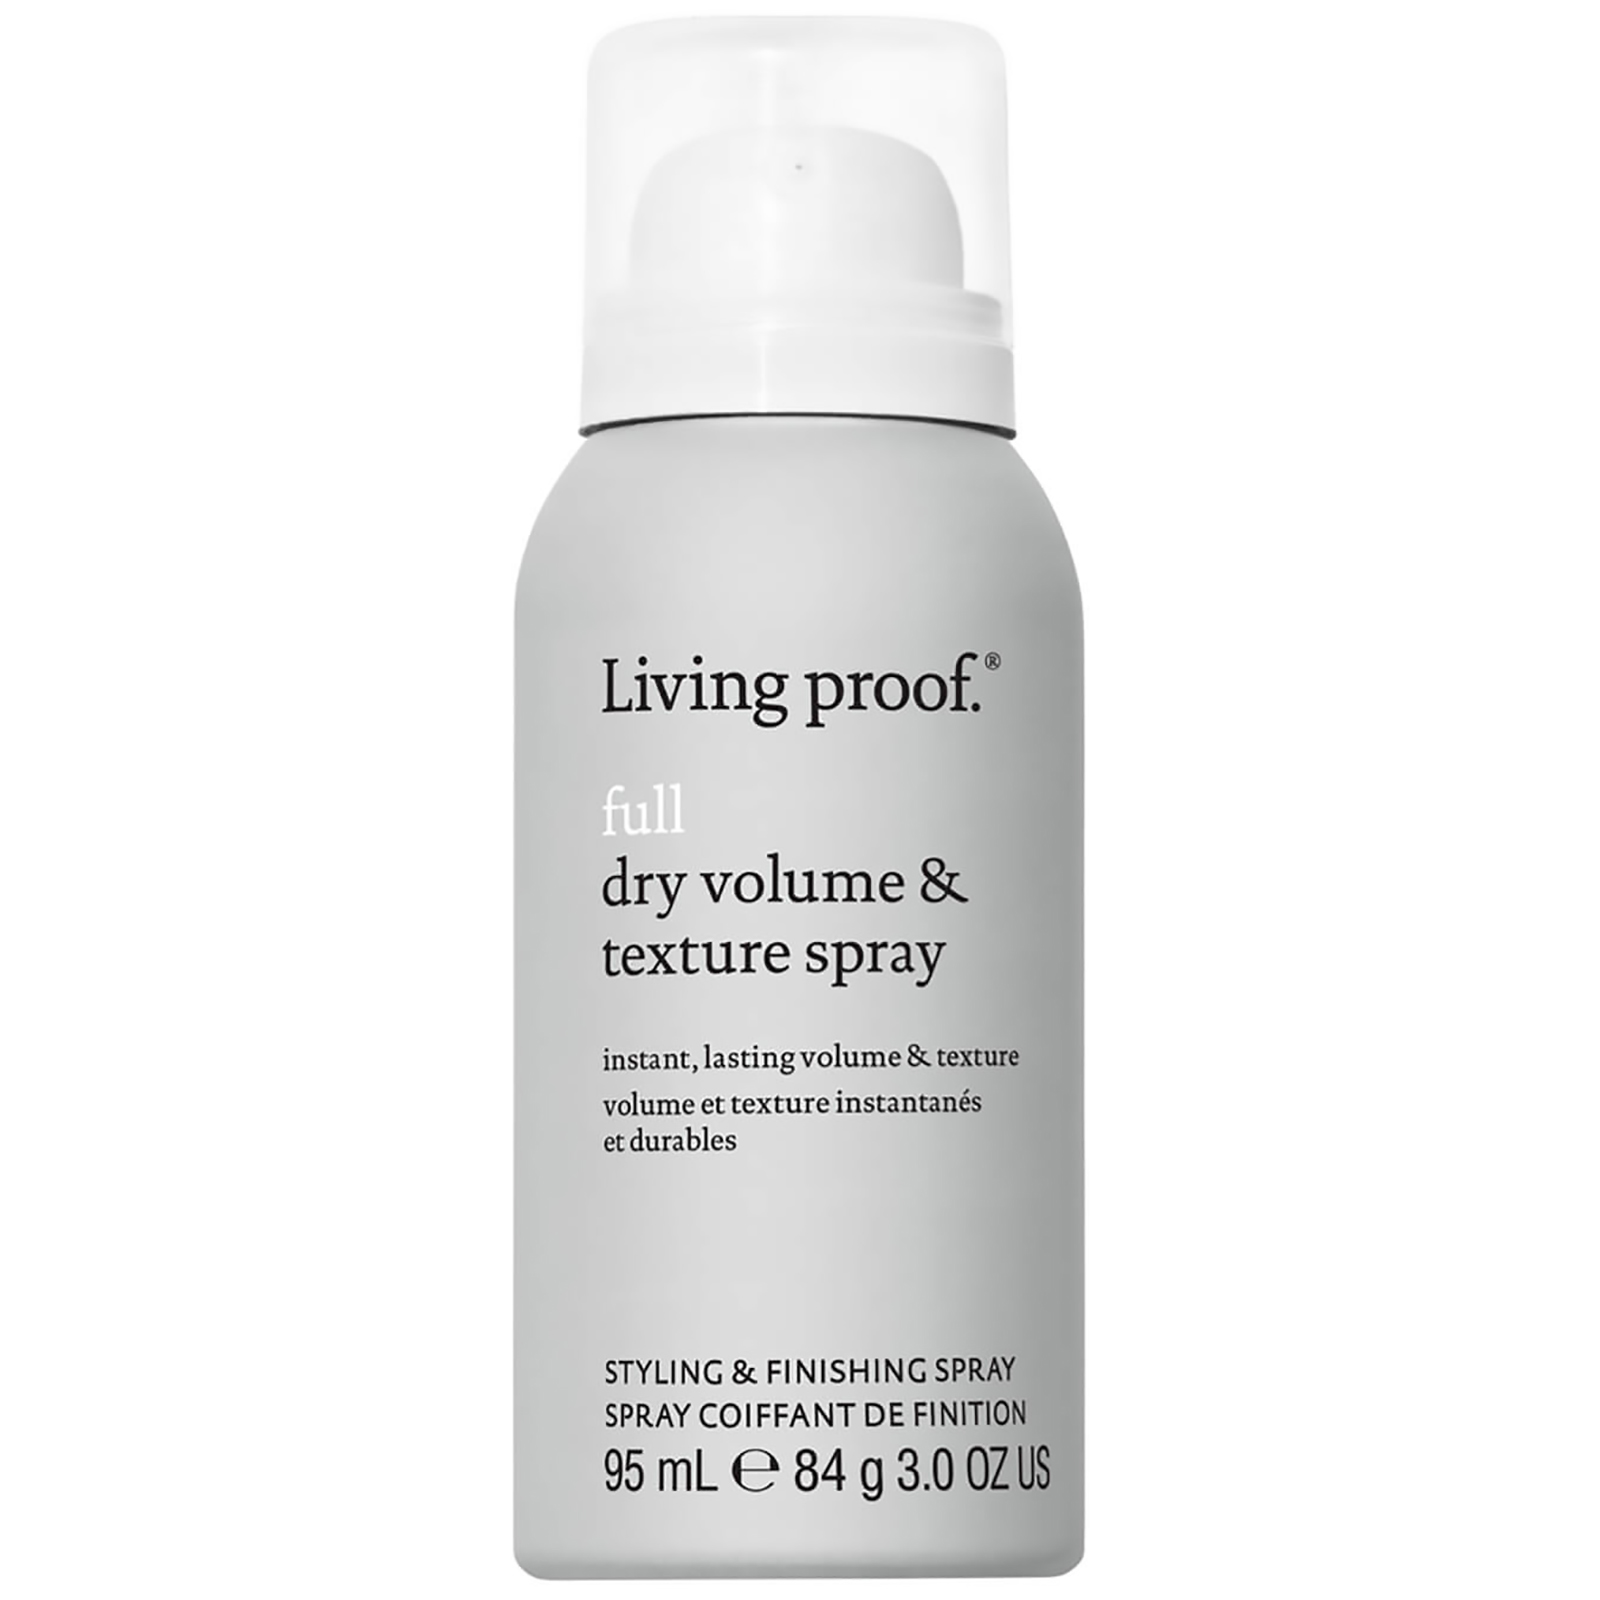
Living Proof Volume
~$32

Oribe Dry Texturizing
~$48
K18 AirWash
~$42

TRESemmé Mousse
~$6
R+Co Grease Balm
~$32
Style Sealers (Serums, Oils, Creams)
Optional — For extra shine and conditioning
Style sealers are the finishing touch that takes your hair from good to glossy. These products—serums, oils, and creams—add the final layer of shine, smoothness, and frizz control that makes hair look polished and healthy.
Apply after your leave-in and styling products, focusing on ends and mid-lengths where hair is oldest and most prone to dryness and damage. A little goes a long way—start with a small amount and add more if needed.
Choosing Your Sealer:
- Serums: Lightweight, silicone-based formulas that coat the hair shaft for instant shine and smoothness. Best for fine to medium hair. Won't weigh hair down.
- Oils: Provide deeper nourishment and longer-lasting moisture. Great for dry, thick, or curly hair. Choose lighter oils (argan, jojoba) for fine hair, heavier oils (coconut, castor) for thick hair.
- Creams: Offer moisture and hold in one. Perfect for smoothing flyaways and taming frizz. Best for medium to thick hair.
Application Tips:
- • Apply to dry or nearly-dry hair for best shine
- • Warm between palms before smoothing over hair
- • Avoid roots to prevent greasiness
- • Can reapply throughout the day to refresh ends
- • Use sparingly—too much can make hair look oily
Serums:

Garnier Fructis Serum
~$8
Redken Acidic Serum
~$32
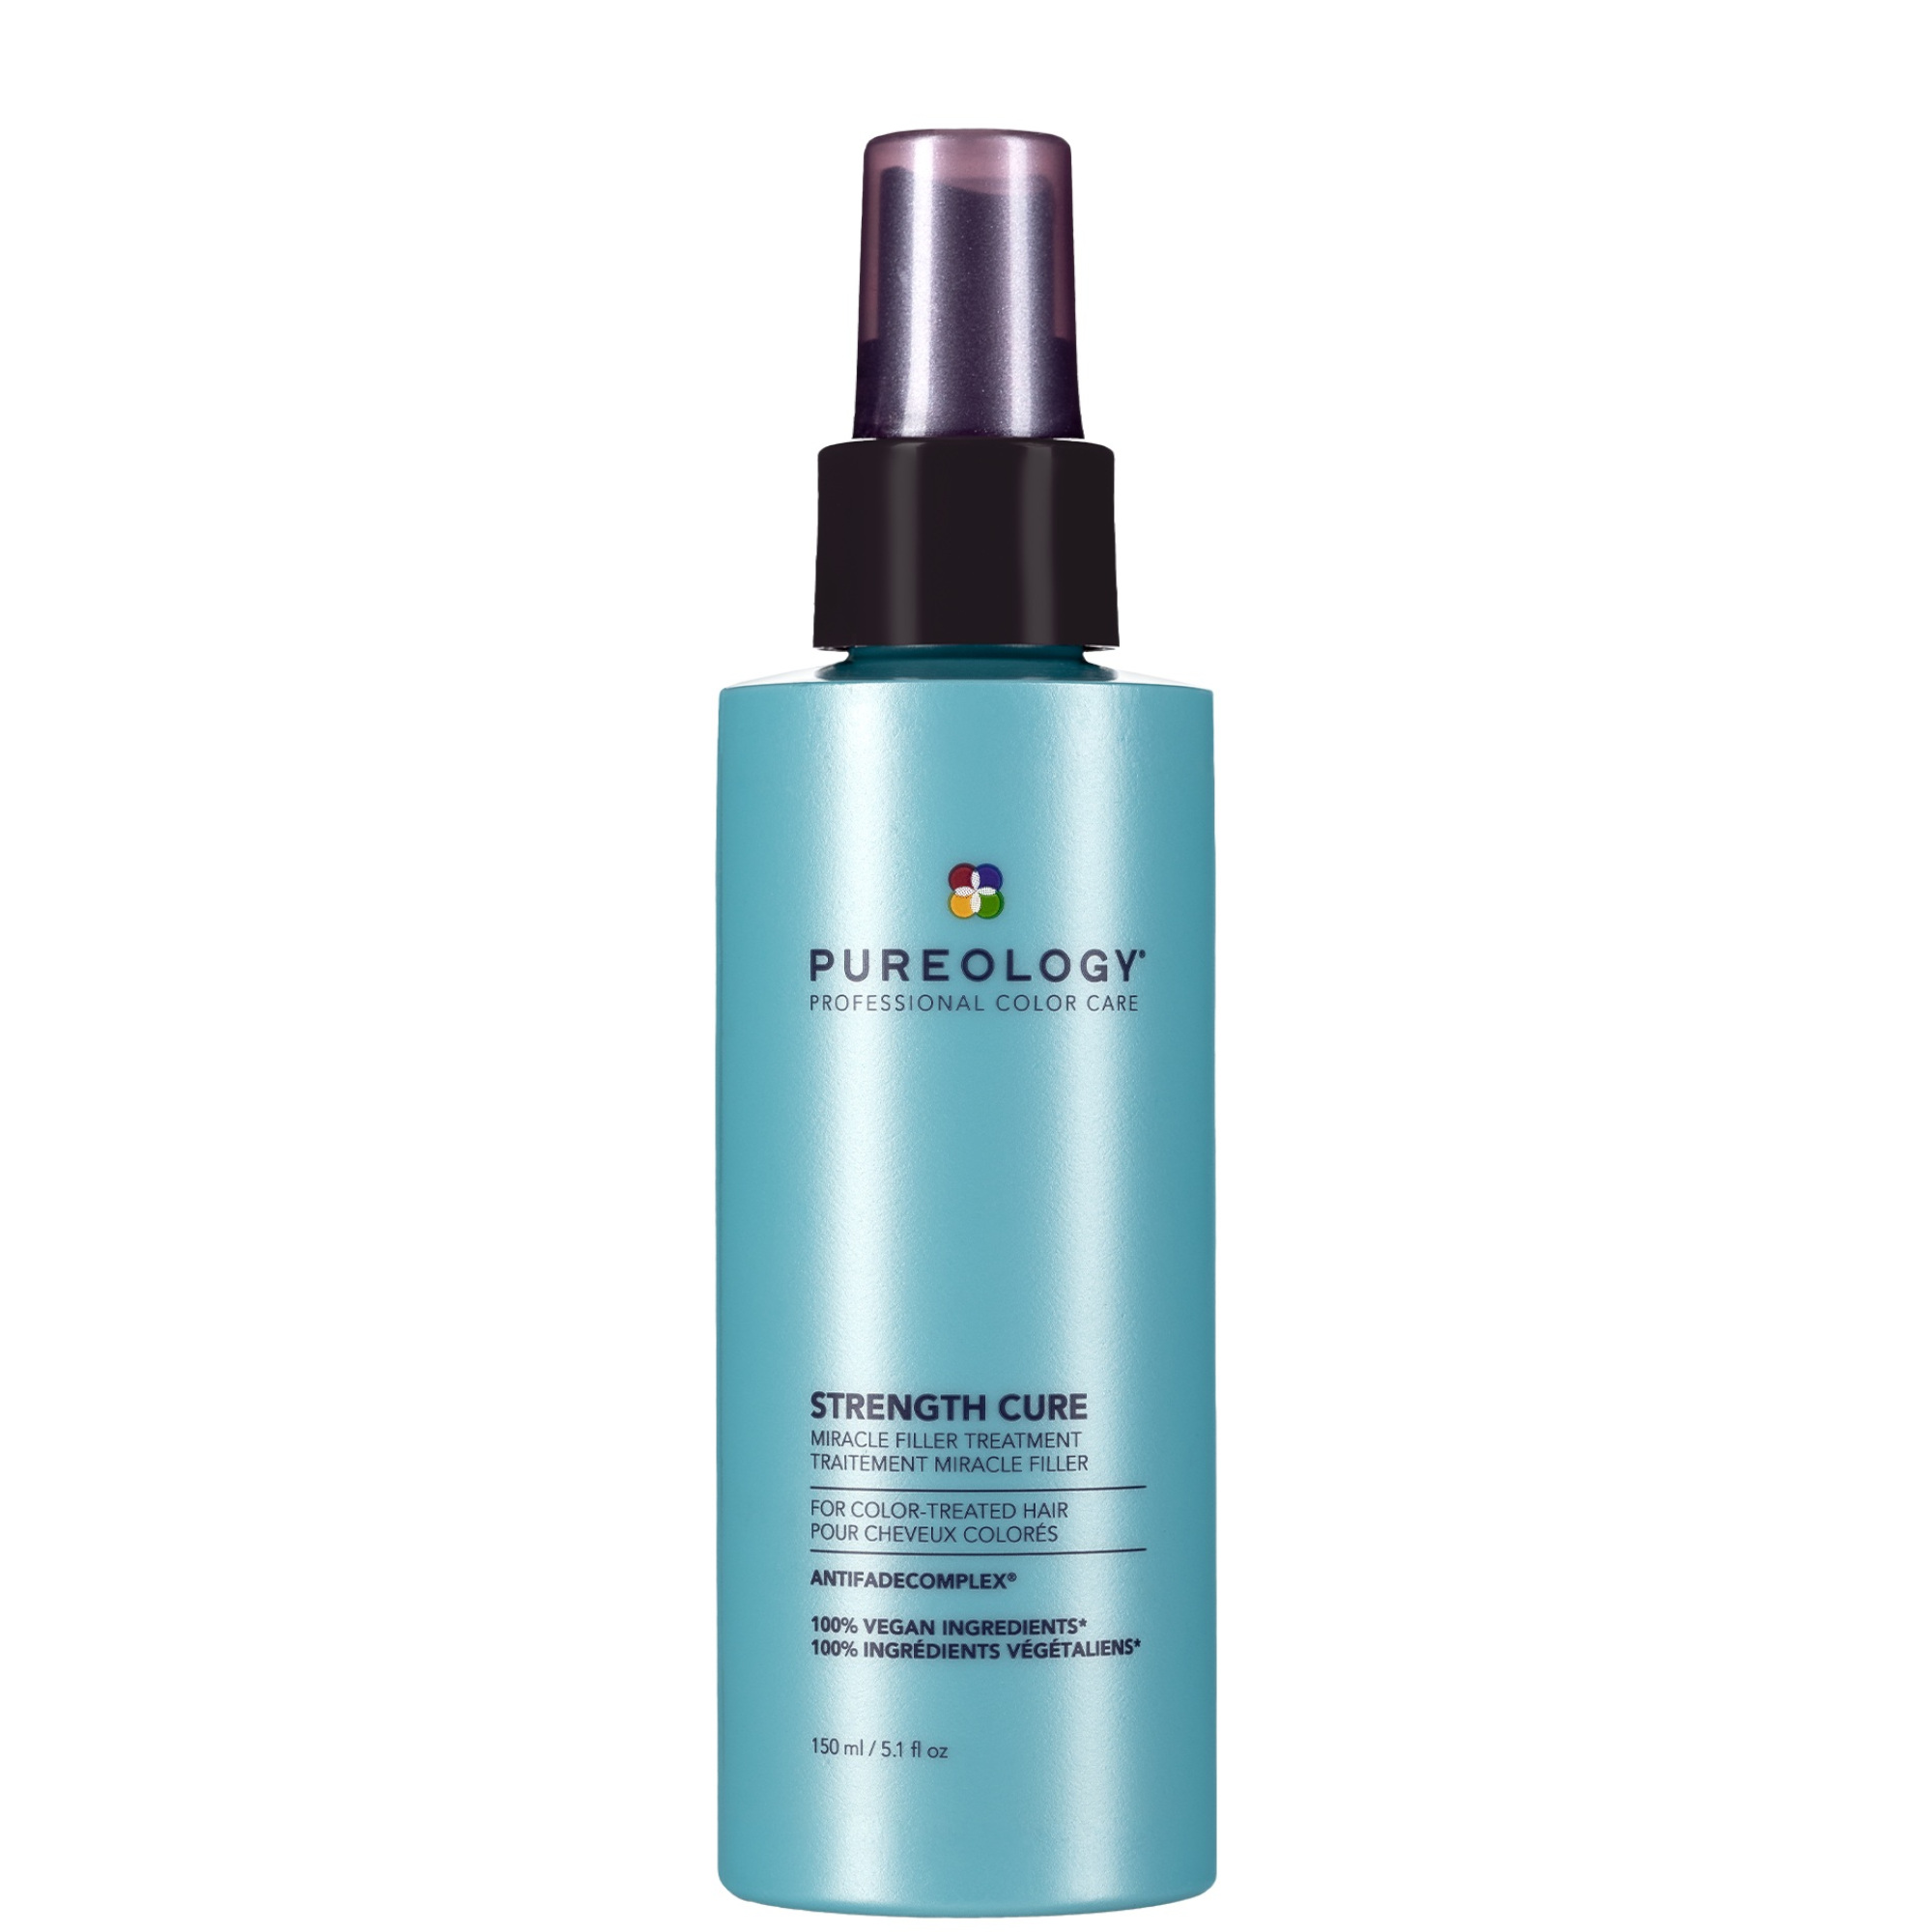
Pureology Miracle Filler
~$35
Oils:
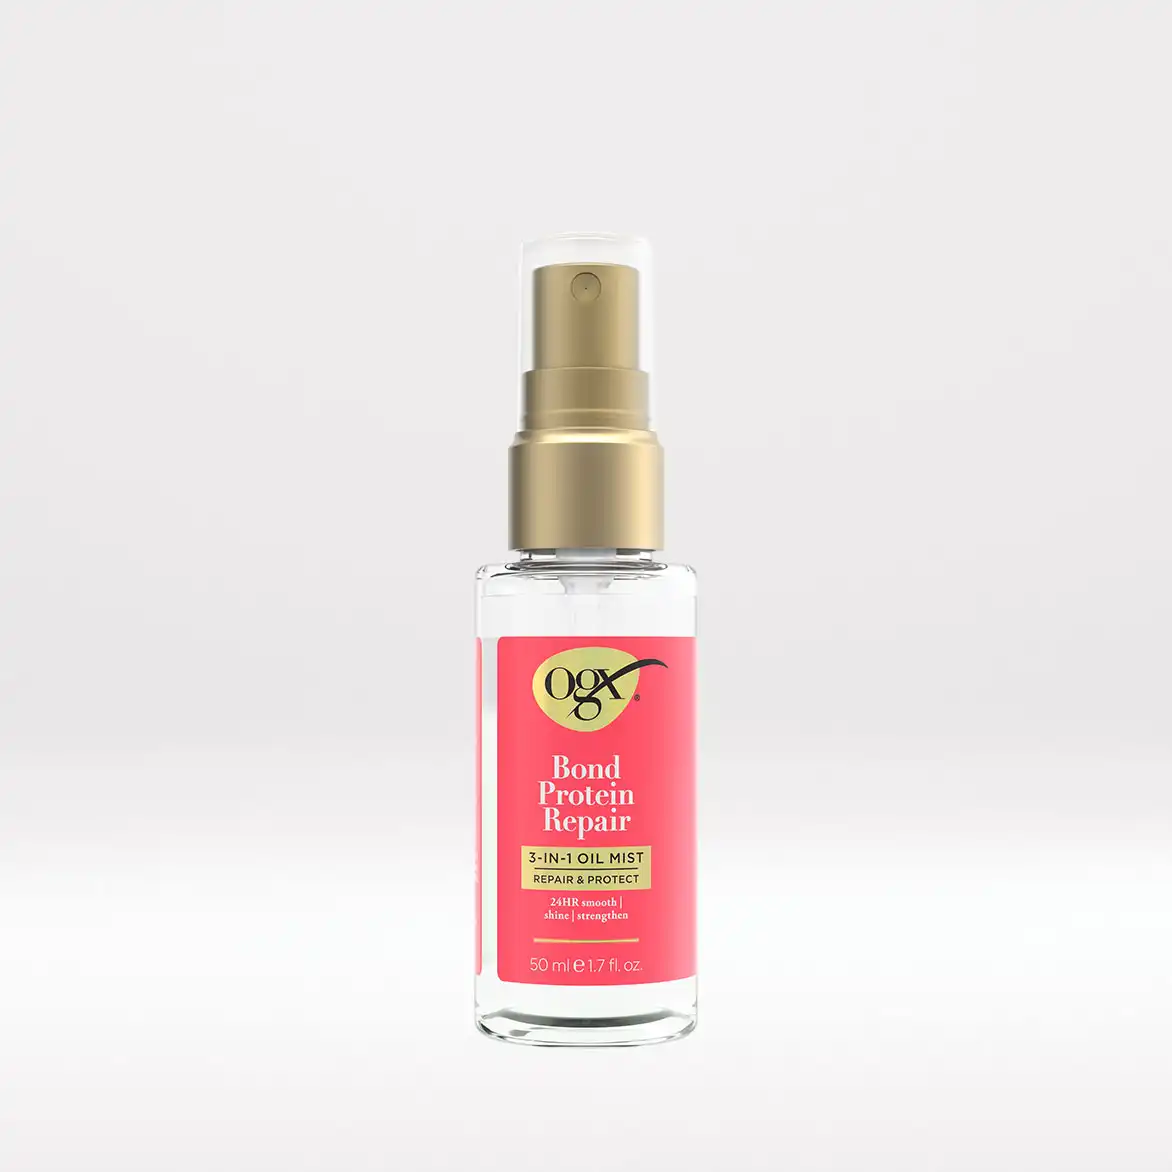
OGX Bond Oil
~$9
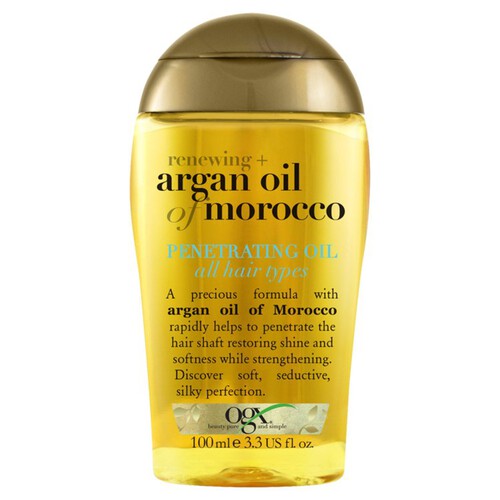
OGX Argan Oil
~$9
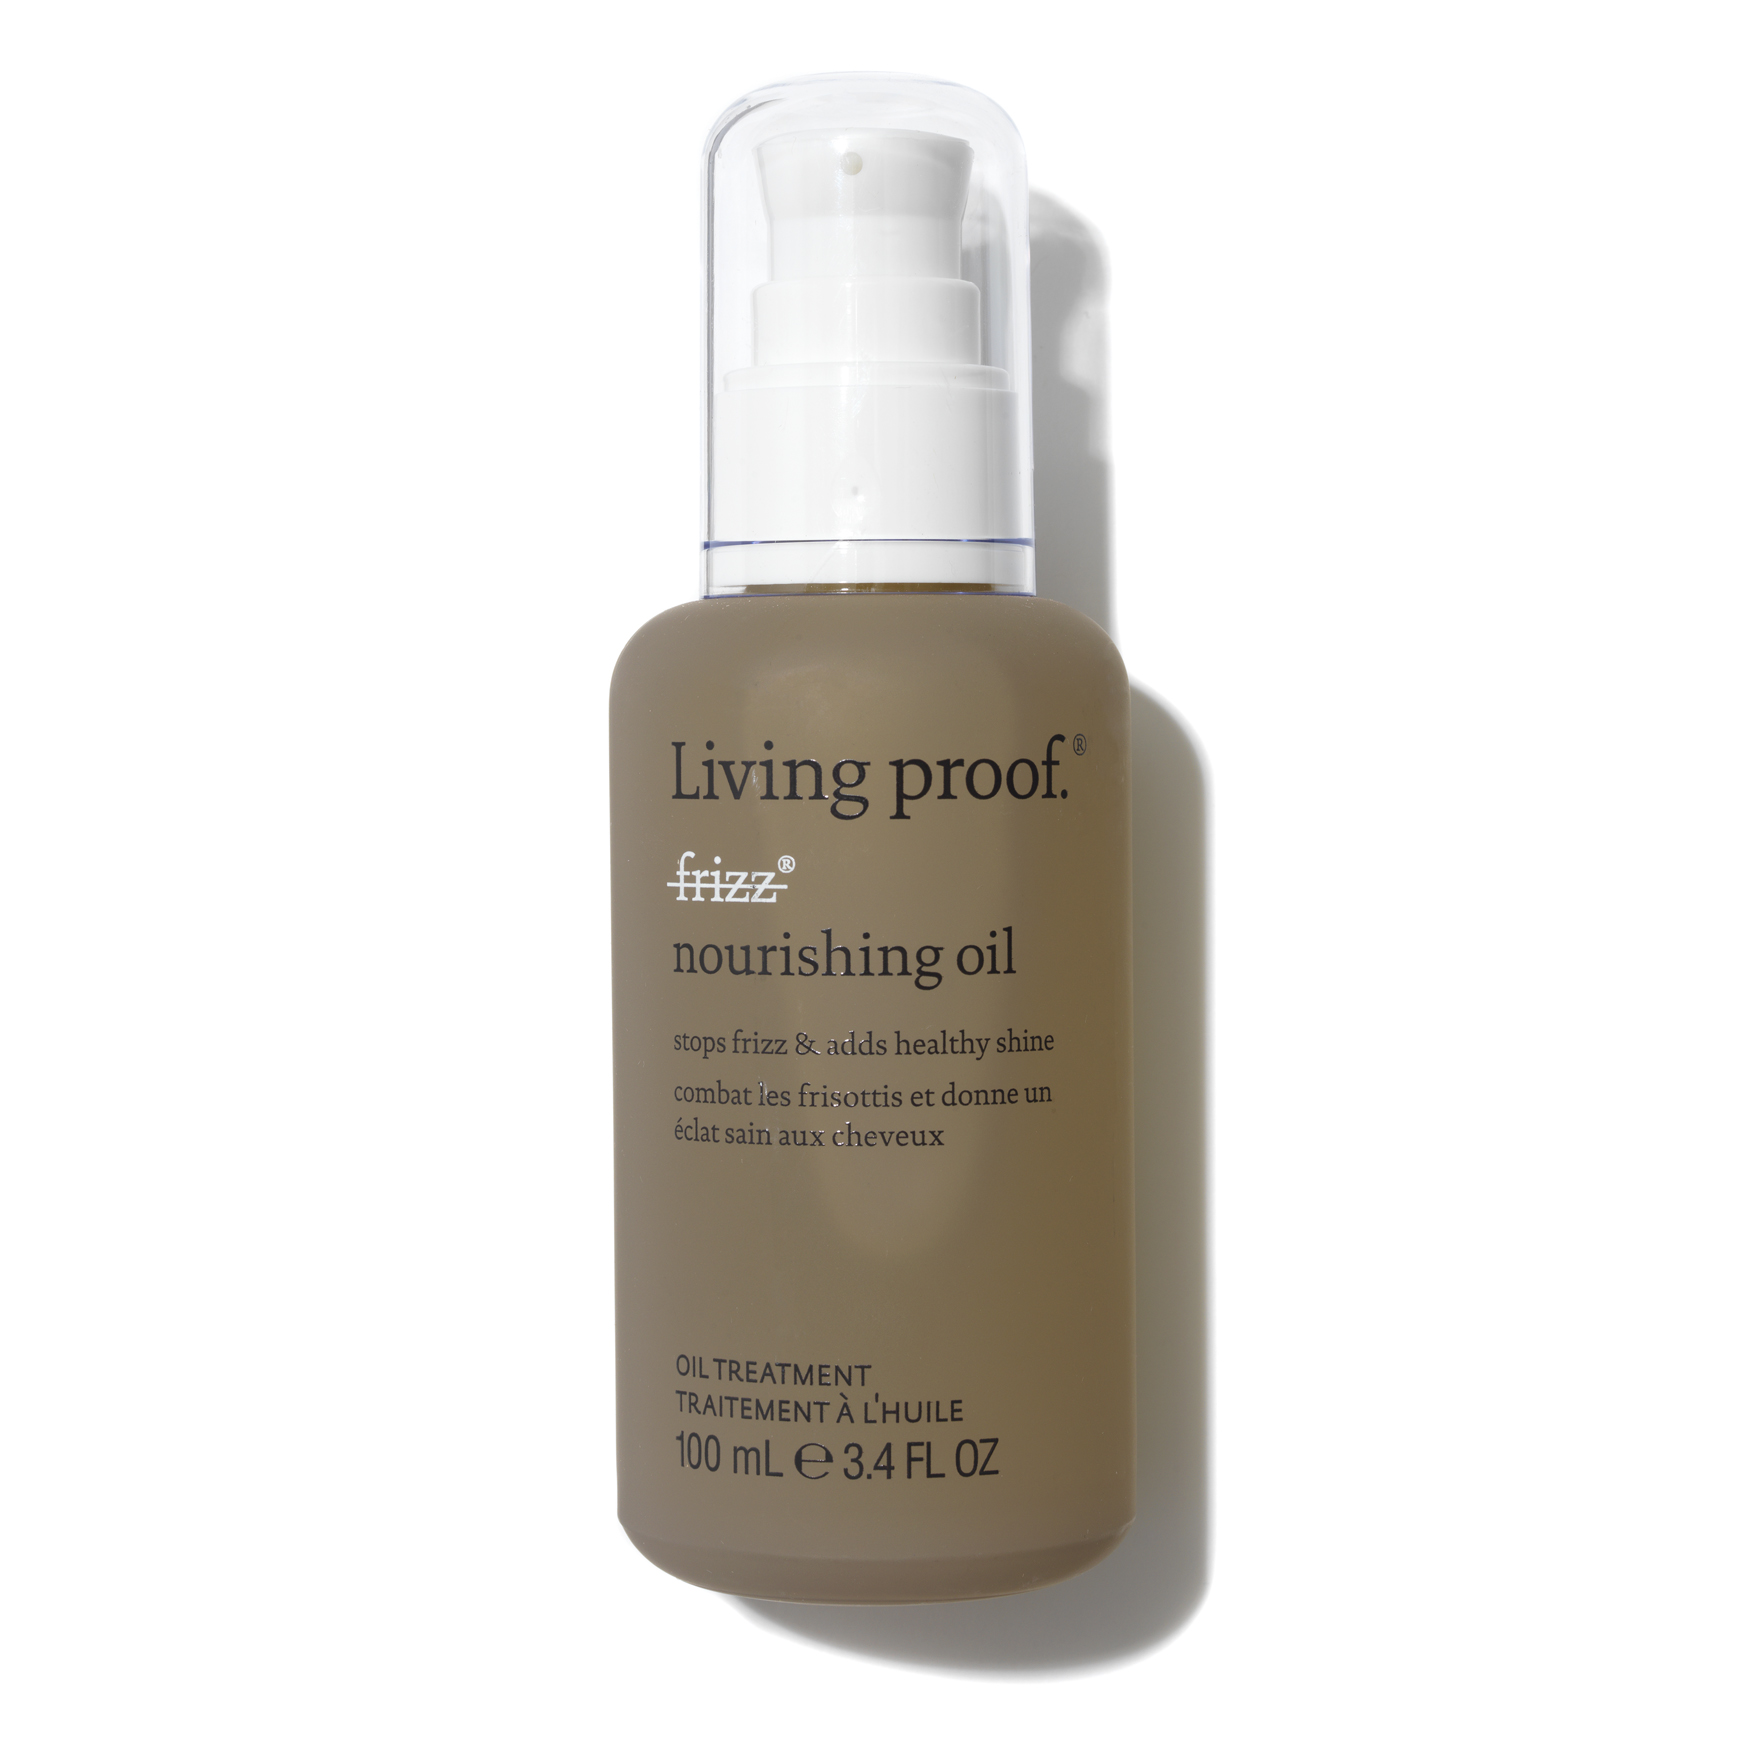
Living Proof Oil
~$32
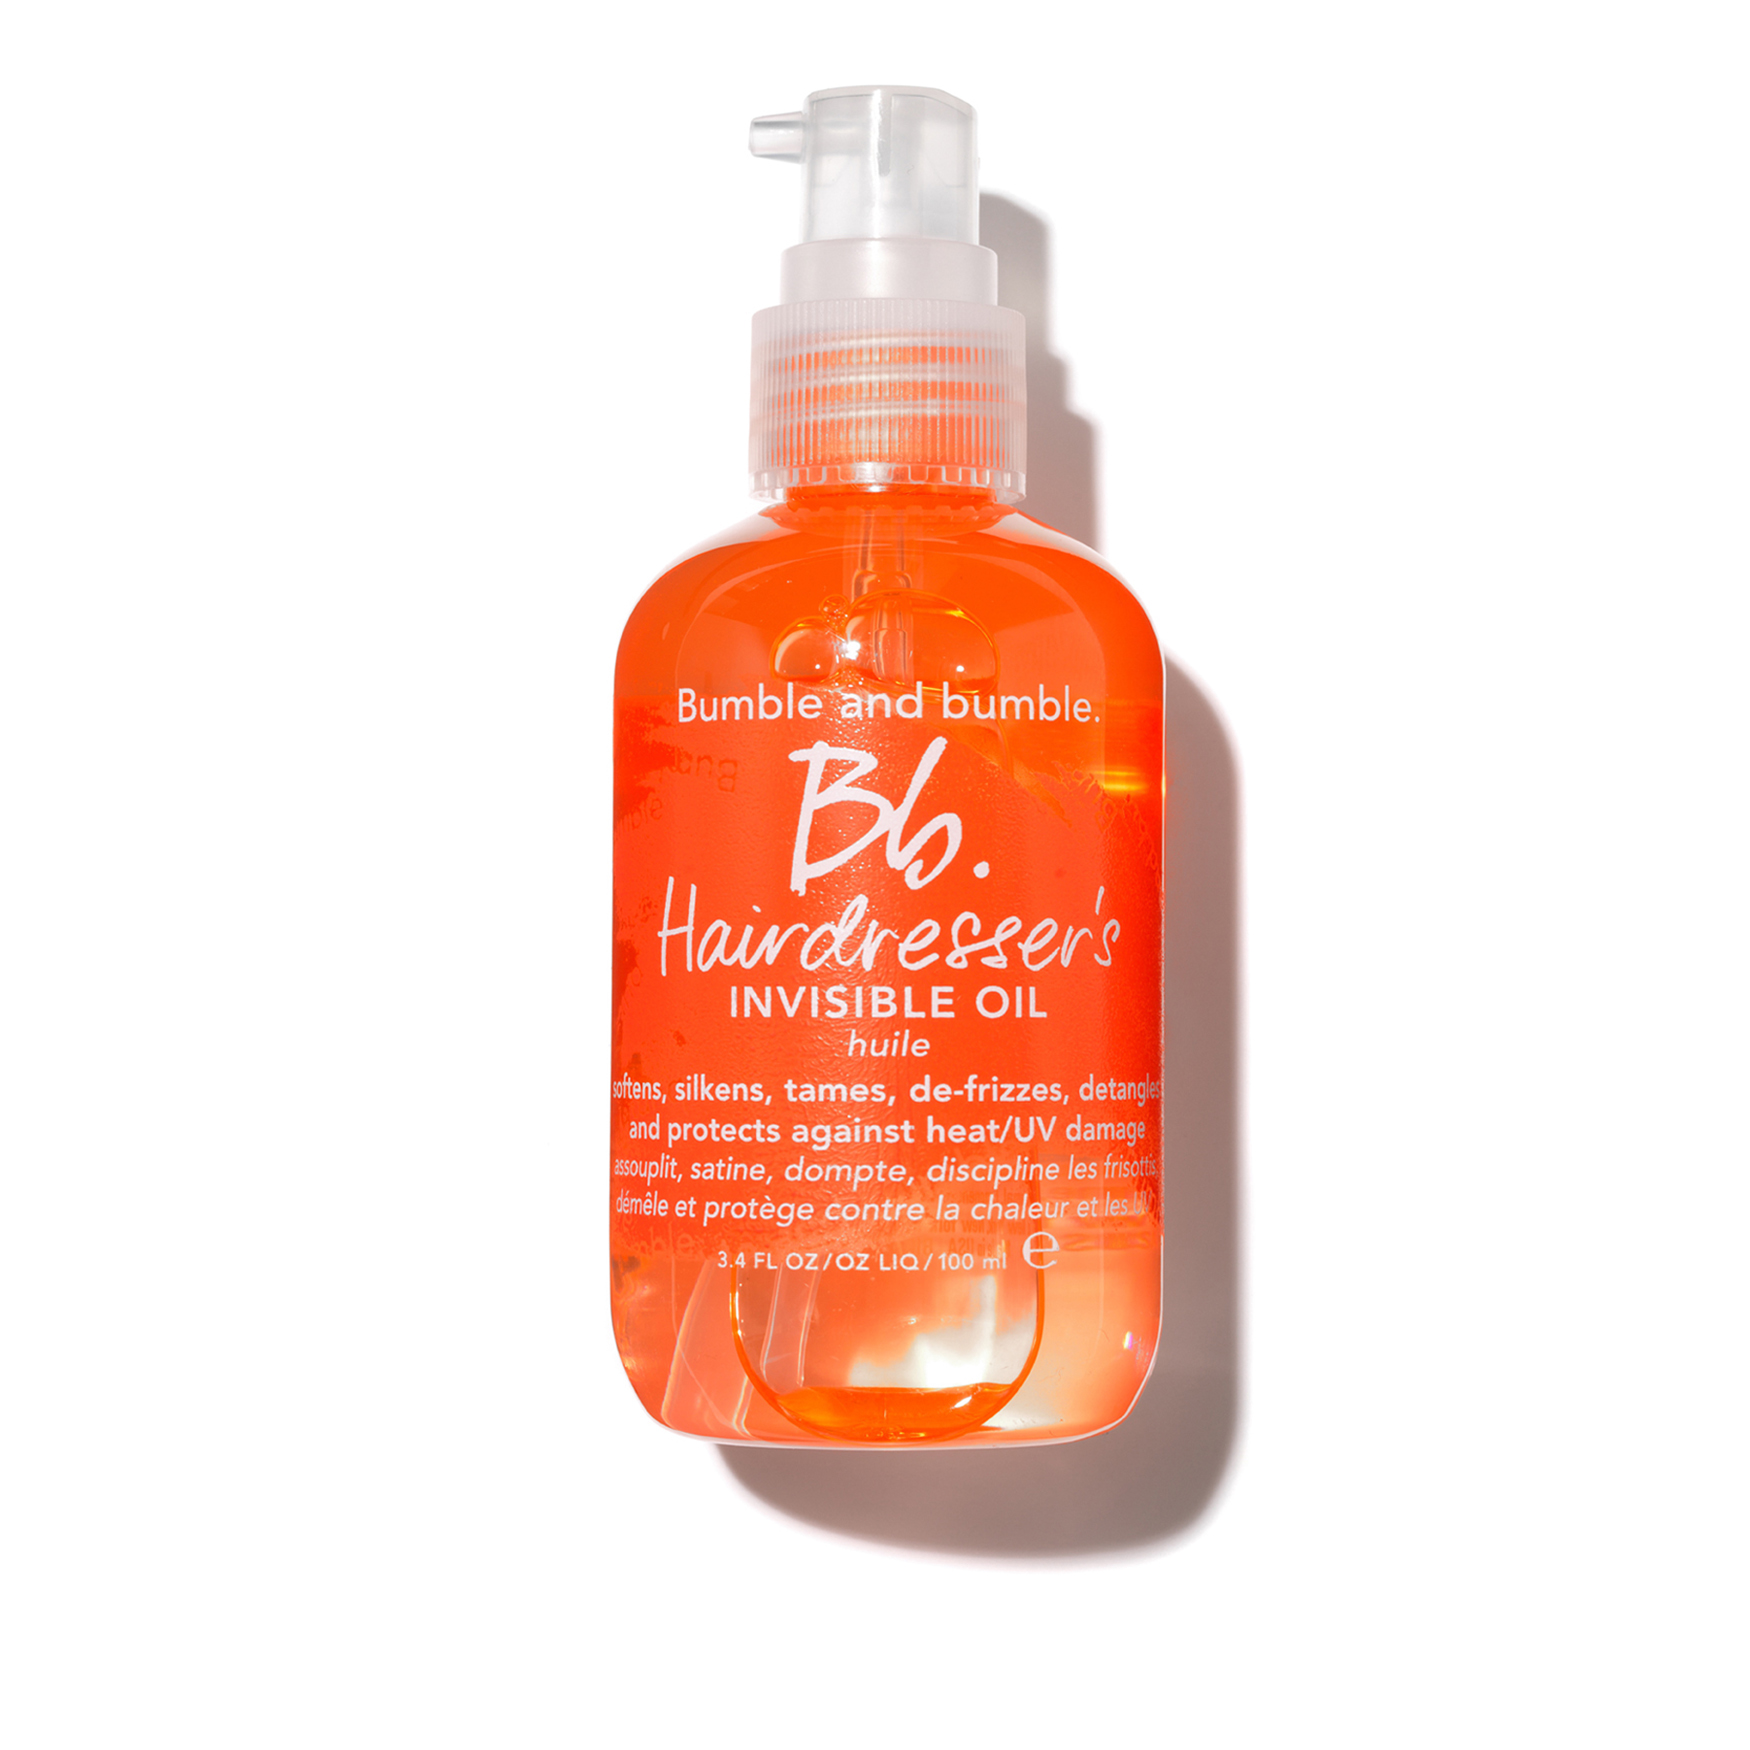
Bumble Invisible Oil
~$40
Between-Wash Care
Optional — As needed between washes
Between-wash care extends the life of your style and maintains hair health without over-washing. Most hair types benefit from washing 2-3 times per week—this step helps you look great on the days in between.
The right between-wash products can refresh greasy roots, revive flat hair, add moisture to dry ends, and protect your hair when you restyle with heat. This step is especially important for those training their hair to go longer between washes.
Types of Between-Wash Products:
- Dry Shampoo: Absorbs excess oil at the roots and adds volume. Apply to roots, wait 2 minutes, then brush or massage through.
- Refresh Sprays: Revive curls and waves with moisture and hold. Great for second or third-day curls.
- Overnight Treatments: Apply to dry hair before bed for intensive conditioning. Wash out in the morning.
- Heat Protectant: Essential before any heat re-styling between washes. Hair is more vulnerable when not freshly conditioned.
Between-Wash Tips:
- • Apply dry shampoo the night before for better oil absorption
- • Use a silk or satin pillowcase to reduce friction and frizz
- • Braid or twist hair loosely before bed to preserve style
- • Focus oils and serums on ends only between washes
- • Don't skip heat protectant when re-curling or straightening
Important: Dry shampoo should never replace actual washing. Buildup from overuse can clog follicles and lead to scalp issues. Use as a bridge between washes, not as a permanent solution.
Overnight Treatments:
Amika Midnight Mender
~$32
Dry Shampoo:

Amika Perk Up
~$28
Living Proof Dry
~$30
Dove Volume
~$6
NYM Clean Freak
~$8